Build a Todo API backend using Generic class-based views in Django Rest Framework
Learn to build APIs


Introduction
We will build a to-do API backend using Django Rest Framework. We will be able to create, read, update and delete to-dos.
Set up
Create a new folder and open it with your code editor
Run the following command on your terminal to create a new virtual environment called myvenv
python -m venv myvenv
- Activate the virtual environment
myvenv\Scripts\activate
- Run the following command to install Django and Django Rest Framework
pip install django
pip install djangorestframework
- Create a new Django project called djangoproject and an app called todo
django-admin startproject djangoproject .
python manage.py startapp todo
Open the settings.py file in djangoproject directory and add the todo and rest_framework apps to the list of installed app:
INSTALLED_APPS = [
    ...
    'rest_framework',
    'todo',
]
Create Model
- Define a database model to help save todo data. The fields of the model are title and body to save both the title and body of our todos. Open models.py file in todo app folder and add the following code:
from django.db import models

class Todo(models.Model):
    title = models.CharField(max_length=500)
    body = models.TextField()

    def __str__(self):
        return self.title
- Create an initial migration for our todo model, and sync the database for the first time.
python manage.py makemigrations todo
python manage.py migrate todo
- Register the model so as to be able to view and work with it on the admin page. Add the Todo model to admin.py file in the todo app directory.
from django.contrib import admin
from .models import Todo

# Register your models here.
admin.site.register(Todo)
- You can create a superuser account to be able to log in to the admin.
python manage.py createsuperuser
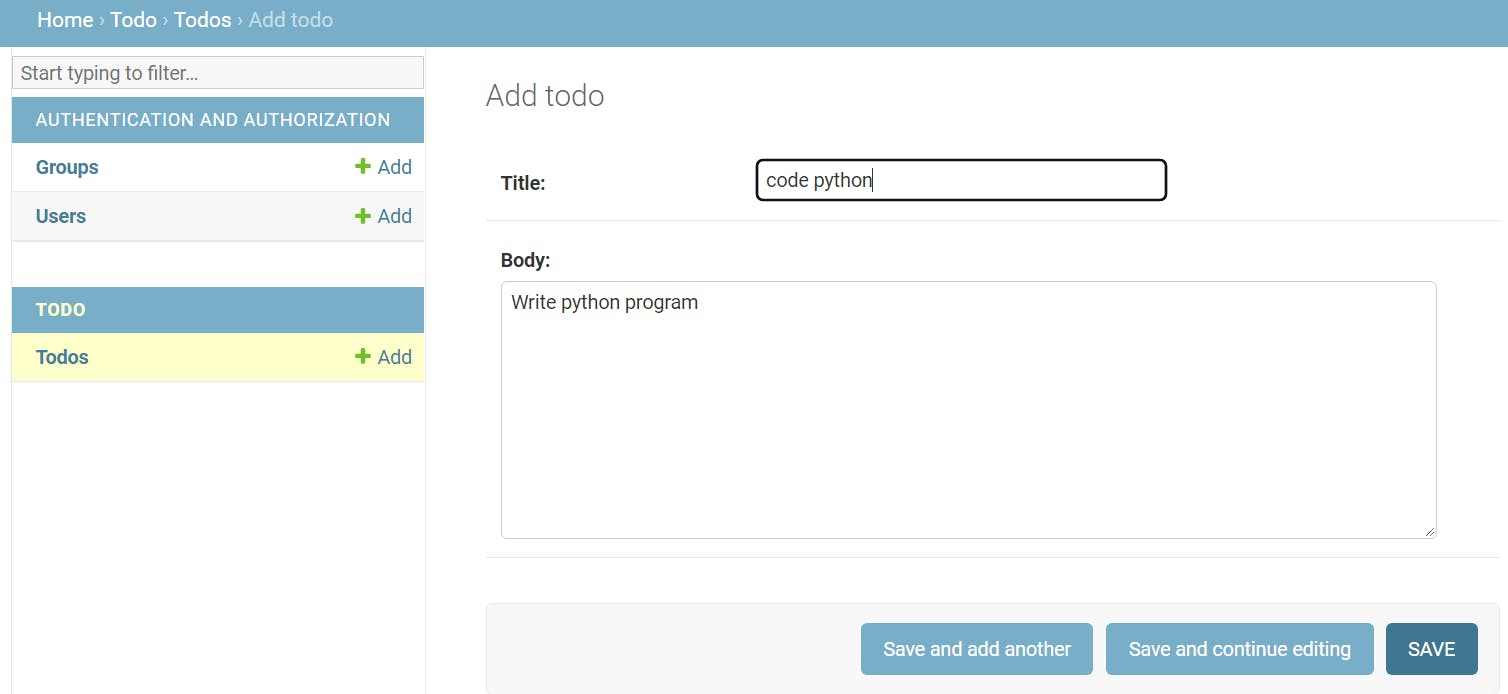
- Go to 127.0.0.1:8000/admin address on your web browser and log in with your chosen username and password while creating the superuser account. Add data to your Todo model.
Create Serializer class
Create a serializers.py file in the todo app folder and add the following code
from rest_framework import serializers
from .models import Todo

class TodoSerializer(serializers.ModelSerializer):
    class Meta:
        model = Todo
        fields = ["id","title","body"]
TodoSerializer class will help to serialize and deserialize the todo instances into representations such as json. We are making use of Django Rest Framework ModelSerializer class to enable us to use the default property of the Todo model.
Views
Open views.py file in the todo app directory and update it with the following code:
from .models import Todo
from .serializers import TodoSerializer
from rest_framework import generics


class TodoList(generics.ListCreateAPIView):
    queryset = Todo.objects.all()
    serializer_class = TodoSerializer


class TodoDetail(generics.RetrieveUpdateDestroyAPIView):
    queryset = Todo.objects.all()
    serializer_class = TodoSerializer
TodoList class will help to read and write collections of todos from the model. TodoDetail will help to read, write and delete a single todo model instance. Notice, we are using generic views provided by REST framework to help us build API views that map closely to database models.
urls
Update urls.py file in djangoproject directory with the following code to include todo app URLs:
from django.contrib import admin
from django.urls import path, include

urlpatterns = [
    path('admin/', admin.site.urls),
    path('api/', include('todo.urls'))
]
Create urls.py file in todo app directory and add the following code
from django.urls import path
from . import views

urlpatterns = [
    path("<int:pk>/", views.TodoDetail.as_view(), name="todo_detail"),
    path("", views.TodoList.as_view(), name="todo_list"),
]
Note that we are referencing two views here, TodoList and TodoDetail. There will be a list of all todos at the empty string "", in other words at api/, and each individual todo will be available at its primary key, pk, which is a value Django sets automatically in every database table. The first entry is 1, the second is 2, and so on. Therefore our first todo will eventually be located at the API endpoint api/1/, the second at api/2/, and so on.
Conclusion
Our Todo API is ready. Start your development server using the following command:
python manage.py runserver
and go to the following link on your web browser to see your API in action:
Check out how to Create the same Todo API using mixins, Viewsets & Routers: https://emmakodes.com/how-to-use-mixins-viewsets-routers-to-create-a-todo-api-in-django-rest-framework